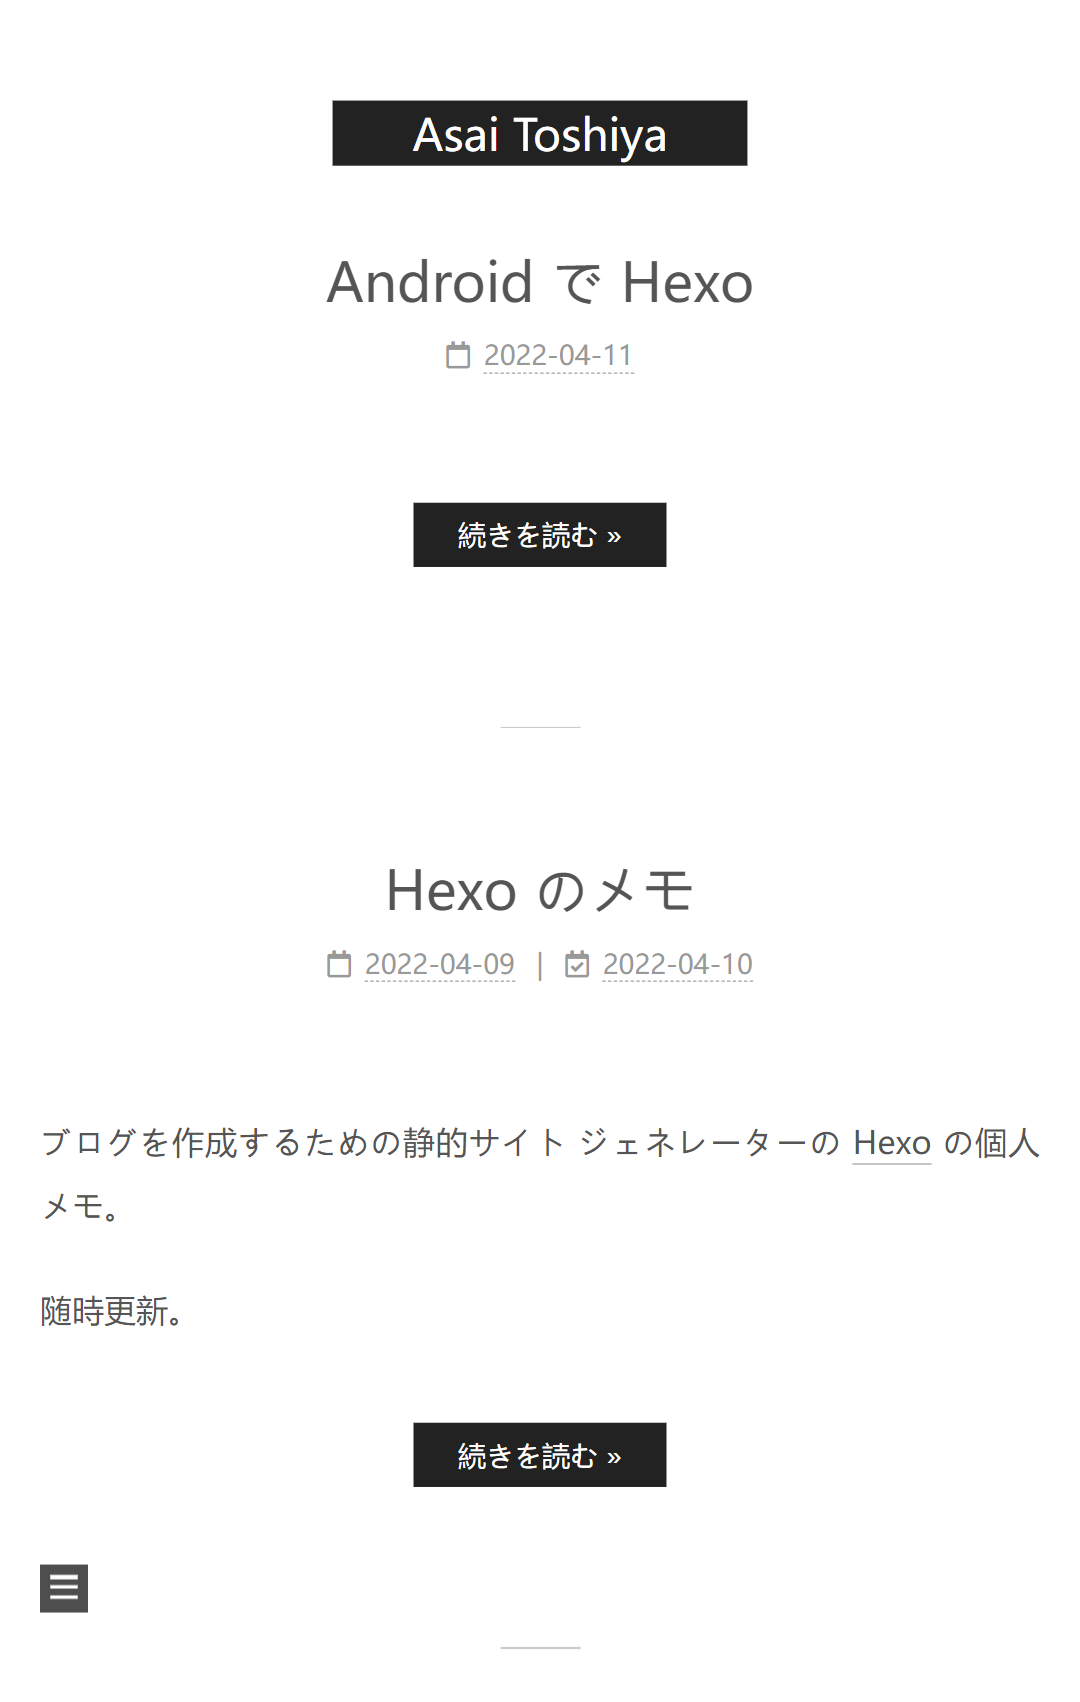
ブログを作成するための静的サイト ジェネレーターの Hexo の個人メモ。
随時更新。
環境
- Hexo 6.1.0
- NexT 8.x.x (テーマ)
スタートアップ
インストールとセットアップ
Node.js がインストールされていることを前提とする。
1 | npm install hexo-cli -g |
静的ファイルを生成
1 | hexo generate |
静的ファイルは public フォルダーに生成される。
ローカルで確認
1 | hexo server |
http://localhost:4000 にアクセスする。
カスタマイズ
ブログの構成を変更
_config.yml ファイルを変更する。
設定の内容は、「Configuration | Hexo」を参照。
テーマの構成を変更
ブログのルート ディレクトリーに _config.[テーマ].yml (例えば、_config.next.yml) ファイルを作成して、そのファイルを変更する。
パーマリンクから日付を削除
_config.yml ファイルの URL セクションの permalink から :year/:month/:day/ を削除する。
_config.yml:
1 | permalink: :title/ |
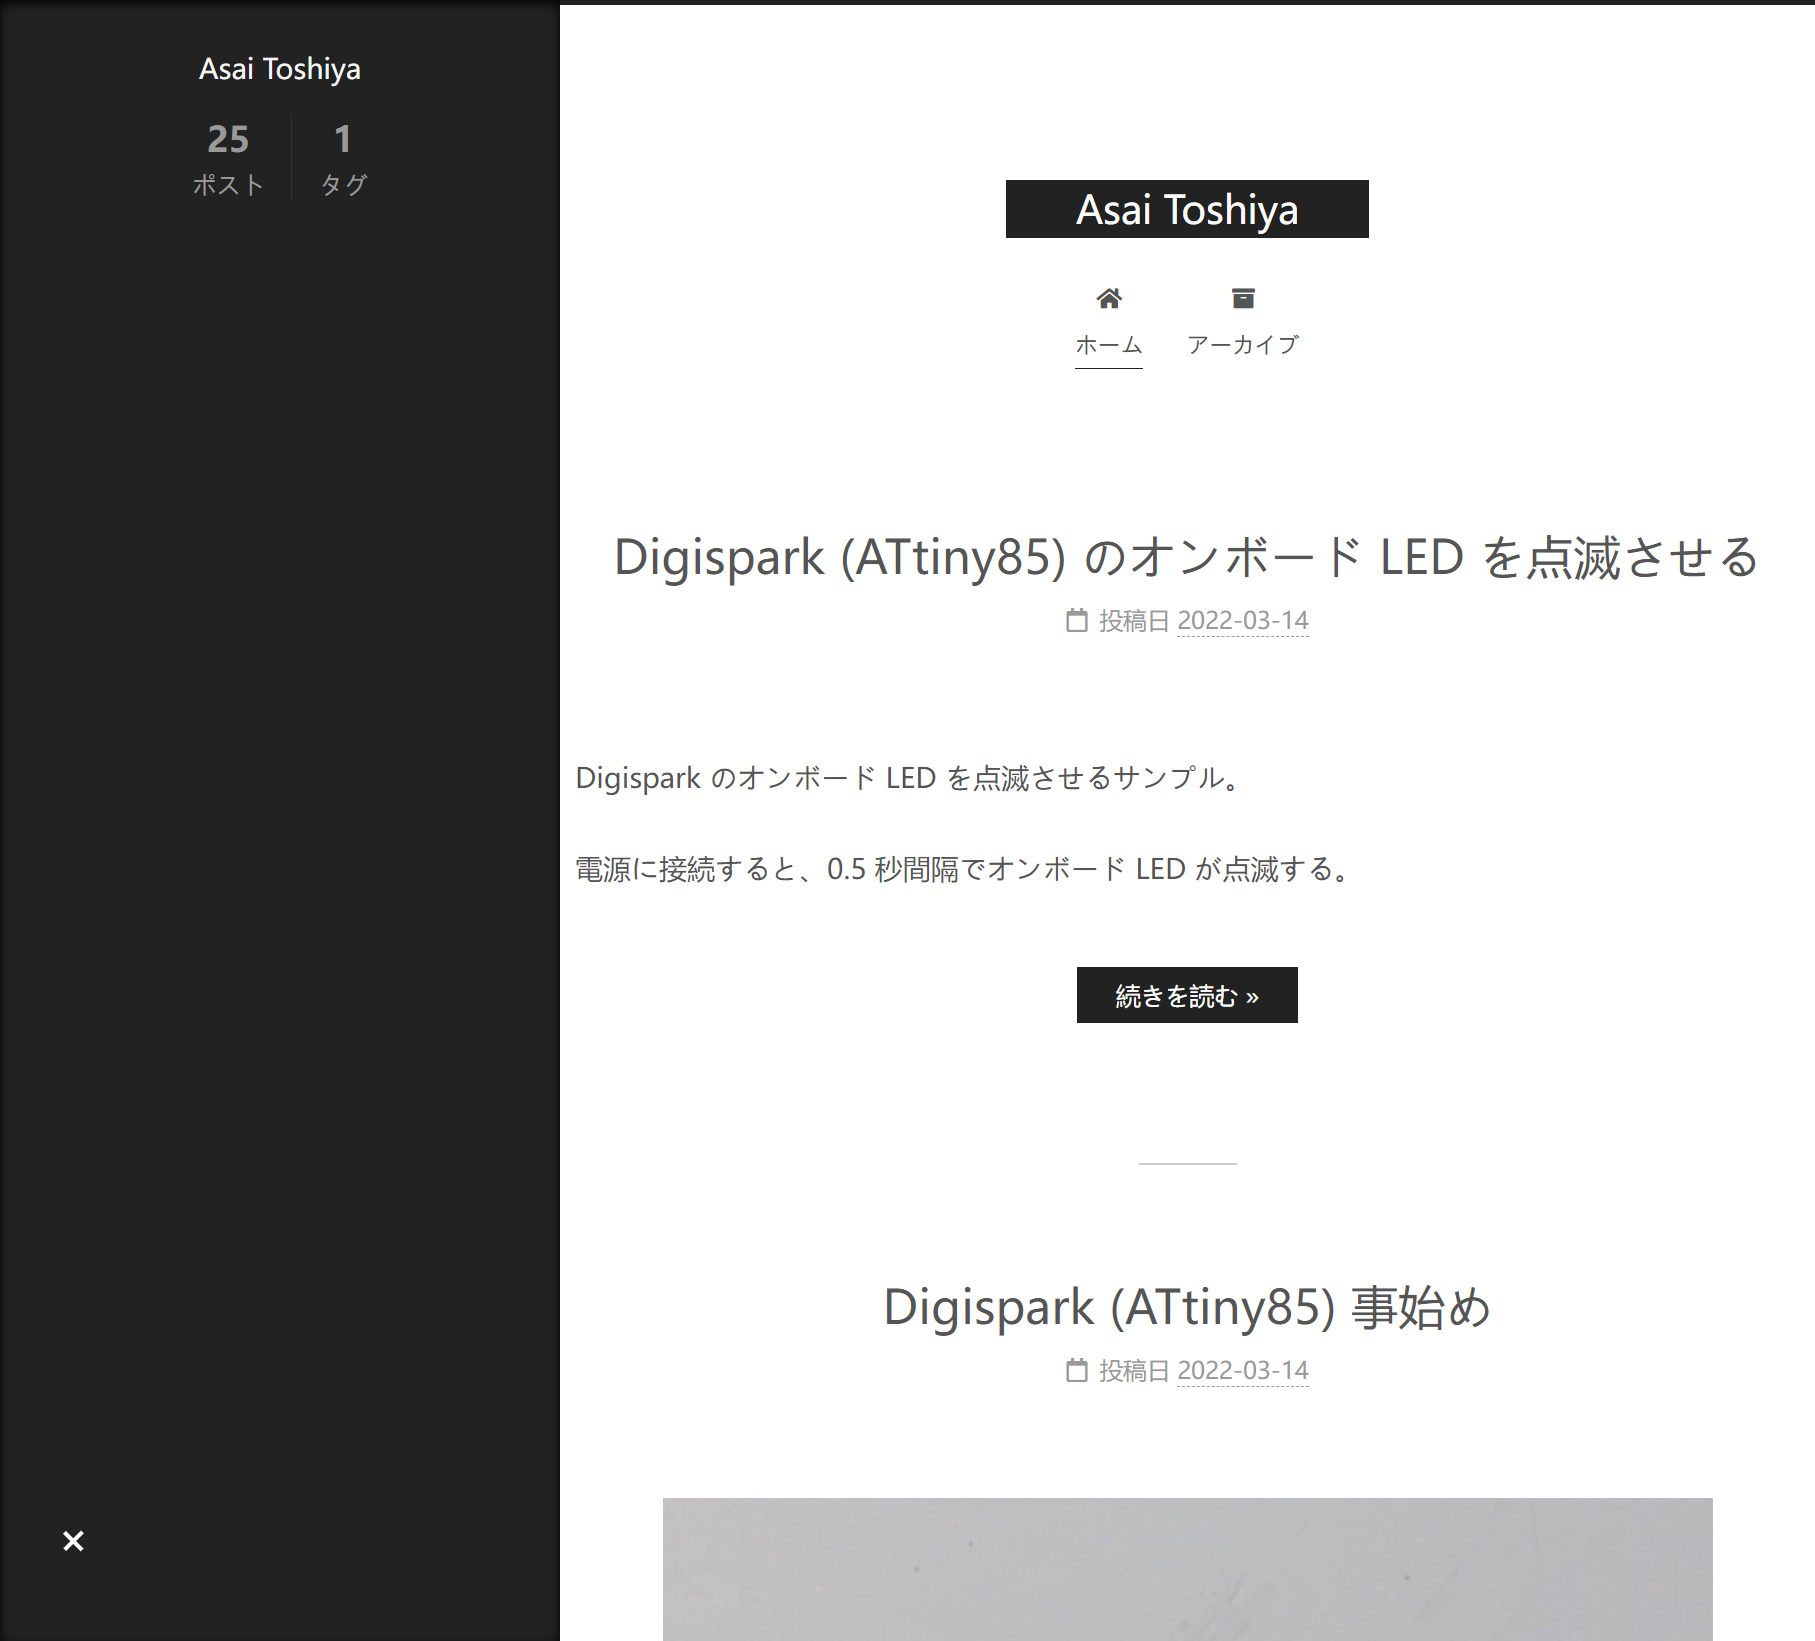
「続きを読む」リンクを追加
記事に <!-- more --> を追加する。
例:
1 | --- |
NexT
テーマを変更
Git がインストールされていることを前提とする。
1 | git submodule add https://github.com/theme-next/hexo-theme-next themes/next |
_config.yml:
1 | theme: next |
編集日を非表示に
公開日と同じ日時の編集日 (Front Matter) を追加する。
例:
1 |
|
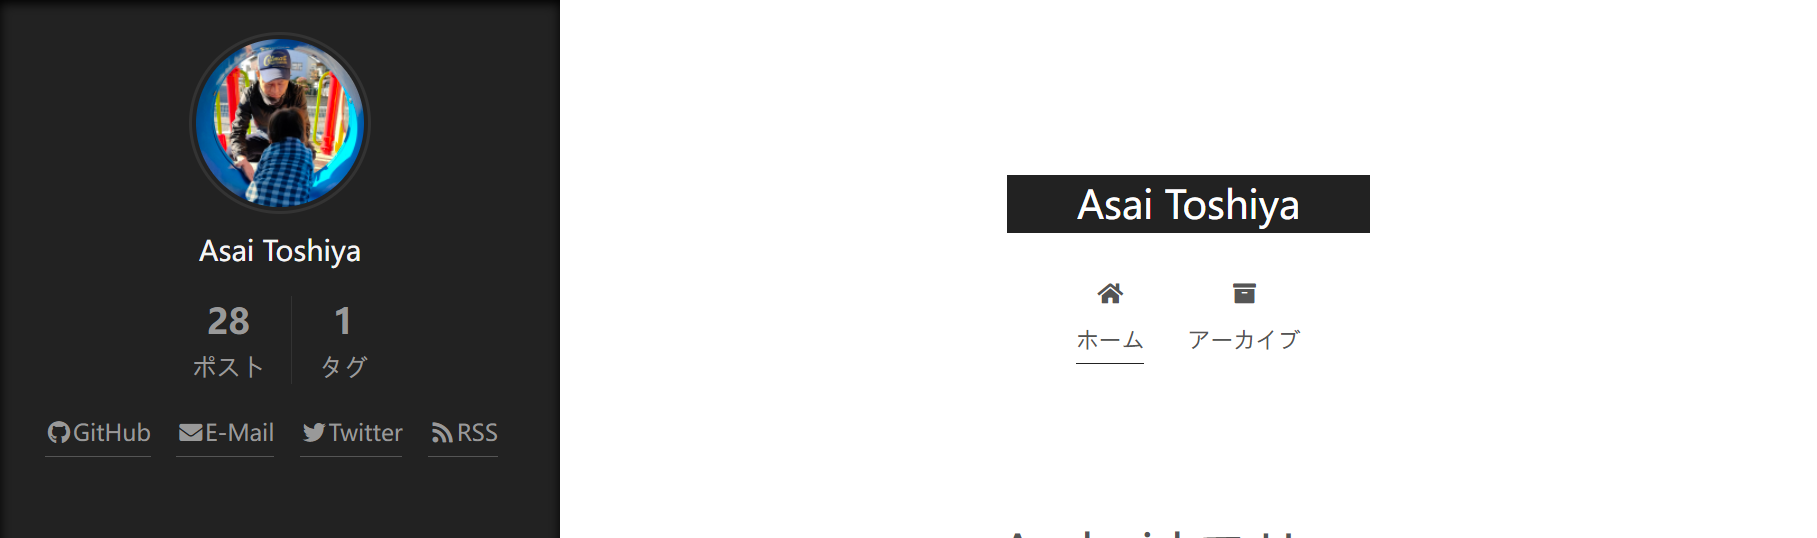
すべてのページでサイドバーをデフォルトで表示
_config.next.yml:
1 | sidebar: |
https://theme-next.js.org/docs/theme-settings/sidebar.html#Sidebar-Style
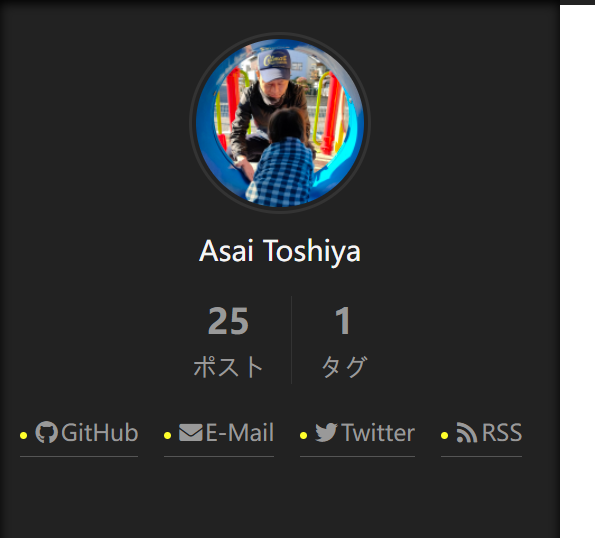
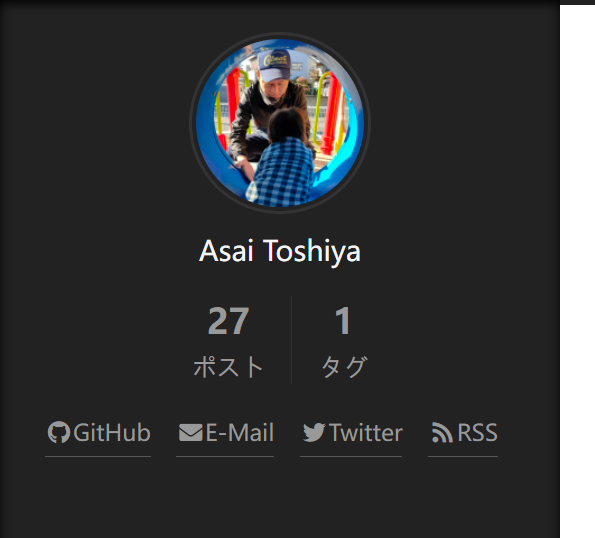
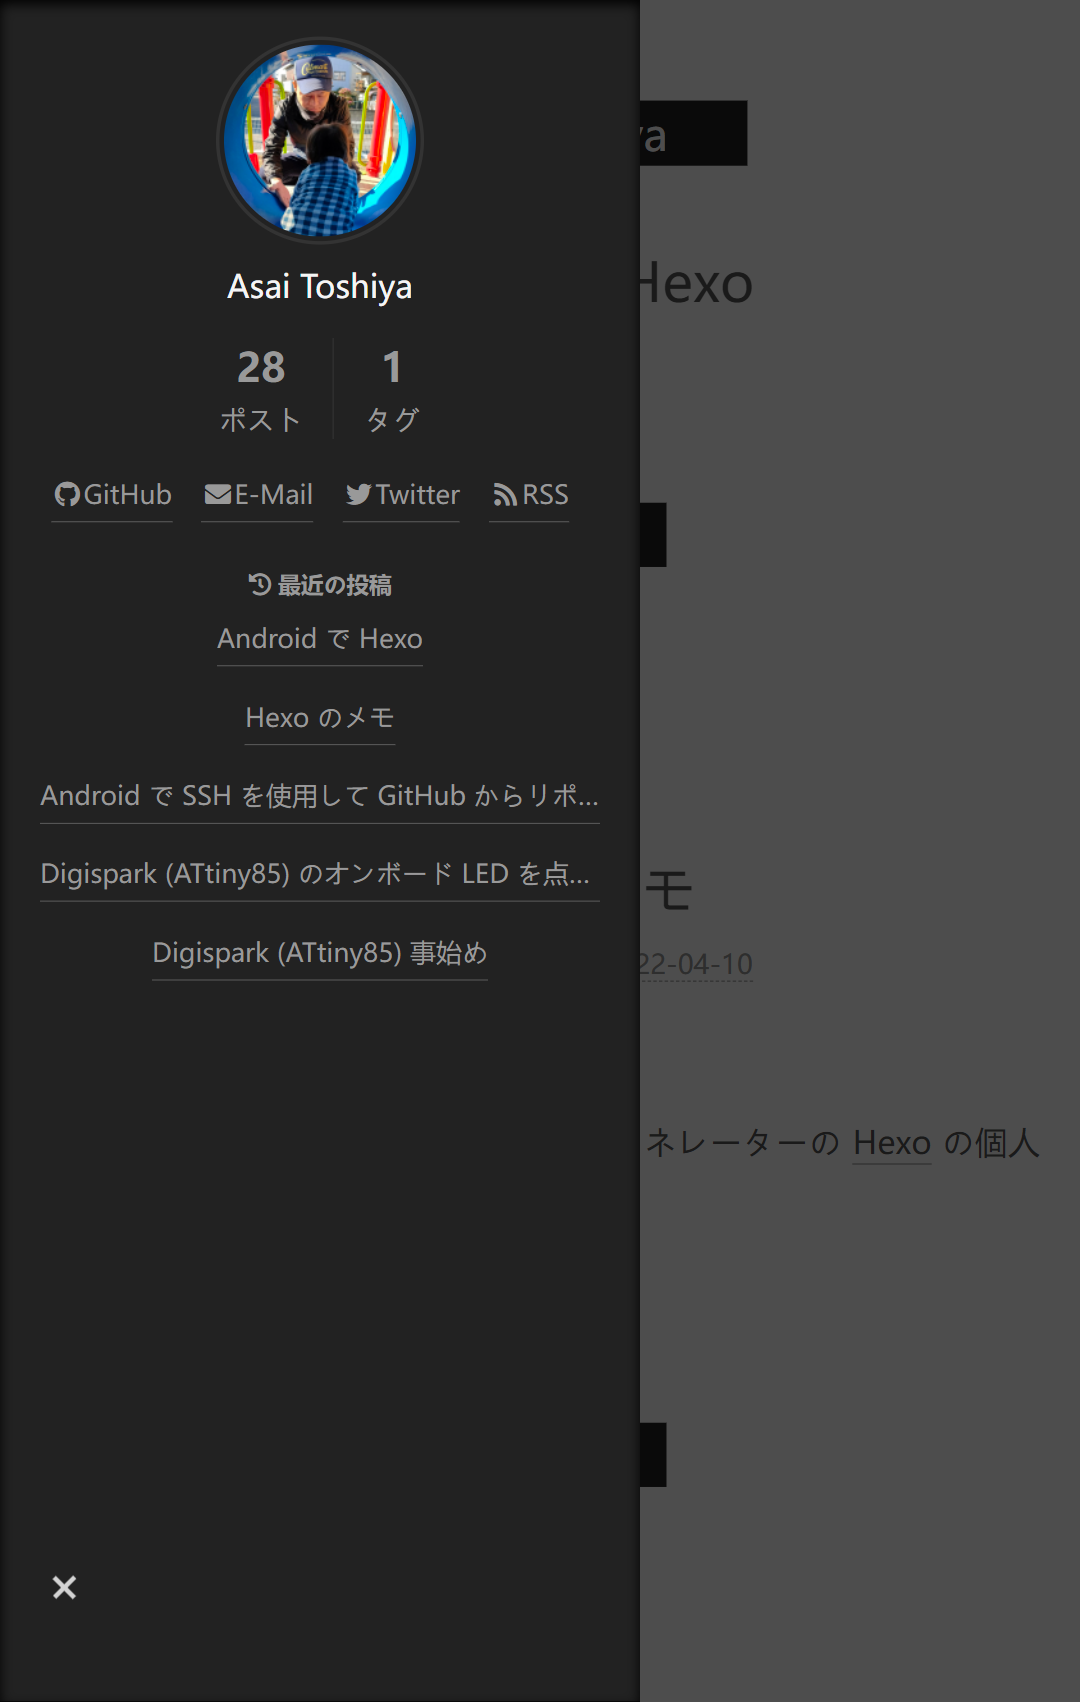
アバター
![]()
画像を source\images に配置して、_config.next.yml ファイルの avatar セクションを変更する。
例:
1 | avatar: |
https://theme-next.js.org/docs/theme-settings/sidebar.html#Configuring-Avatar
ソーシャル リンク

_config.next.yml ファイルの social セクションを変更する。
例:
1 | social: |
https://theme-next.js.org/docs/theme-settings/sidebar.html#Sidebar-Social-Links
RSS
hexo-generator-feed をインストールする。
1
npm install hexo-generator-feed --save
_config.next.ymlファイルの social セクションにRSSを追加する。例:
1
2
3social:
...
RSS: /atom.xml || fa fa-rss
目次
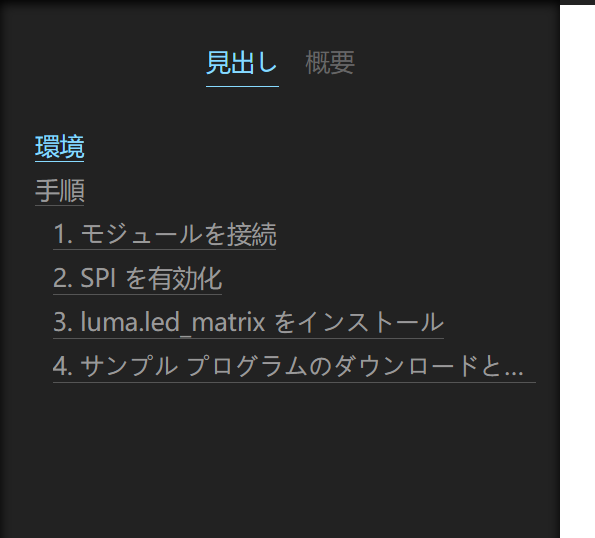
_config.next.yml ファイルの toc セクションを変更する。
例:
1 | toc: |
https://theme-next.js.org/docs/theme-settings/sidebar.html#Sidebar-TOC
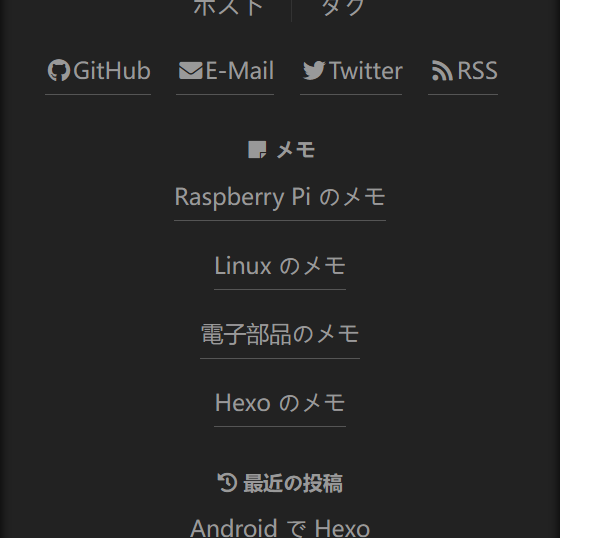
サイドバーに「最近の投稿」を追加
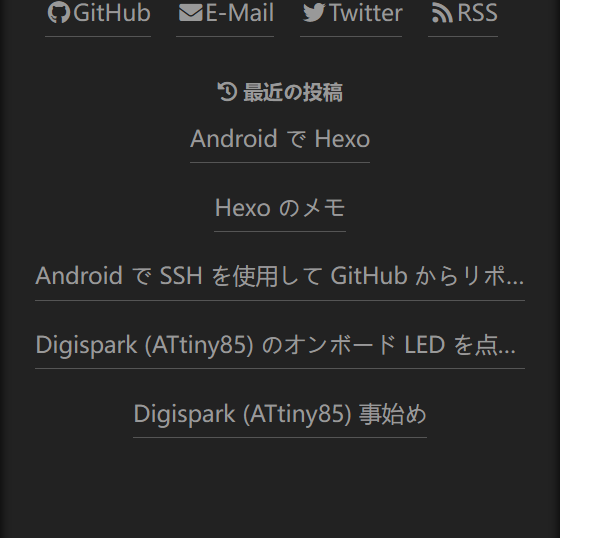
source/_dataにsidebar.njkファイルを作成する。sidebar.njk:
1
2
3
4
5
6
7
8
9
10
11
12
13
14
15
16
17
18
19<!-- recent posts -->
{%- if theme.recent_posts %}
<div class="links-of-blogroll motion-element {{ "links-of-blogroll-" + theme.recent_posts_layout }}">
<div class="links-of-blogroll-title recent-posts-title">
<i class="fa fa-history {{ theme.recent_posts_icon | lower }}" aria-hidden="true"></i>
{{ theme.recent_posts_title }}
</div>
<ul class="links-of-blogroll-list recent-posts-list">
{%- set posts = site.posts.sort('-date').toArray() %}
{%- for post in posts.slice('0', '5') %}
<li class="links-of-blogroll-item">
<a href="{{ url_for(post.path) }}" title="{{ post.title }}" target="">
{{ post.title }}
</a>
</li>
{%- endfor %}
</ul>
</div>
{%- endif %}_config.next.ymlファイルに以下の内容を追加する。_config.next.yml:
1
2
3recent_posts: true
recent_posts_title: 最近の投稿
recent_posts_layout: block
参考: Hexo NexT v8.x.x - Add recent posts | Egbert Lin’s Blog
サイドバーにリンクを追加
_config.next.yml ファイルの links_settings セクションと links セクションを変更する。
例:
1 | links_settings: |
https://theme-next.js.org/docs/theme-settings/sidebar.html#Sidebar-Blogrolls
NexT (スタイル)
source/_data に styles.styl ファイルを作成して、_config.next.yml ファイルの custom_file_path セクションの style のコメントアウトを外す。
_config.next.yml:
1 | custom_file_path: |
ソーシャル リンクのアイコンの前の丸 (●) を非表示に
styles.styl:
1 | .links-of-author a::before { |
ページの上部にある黒い線を非表示に
styles.styl:
1 | .headband { |
アーカイブ ページの「もっと書こう!」を非表示に
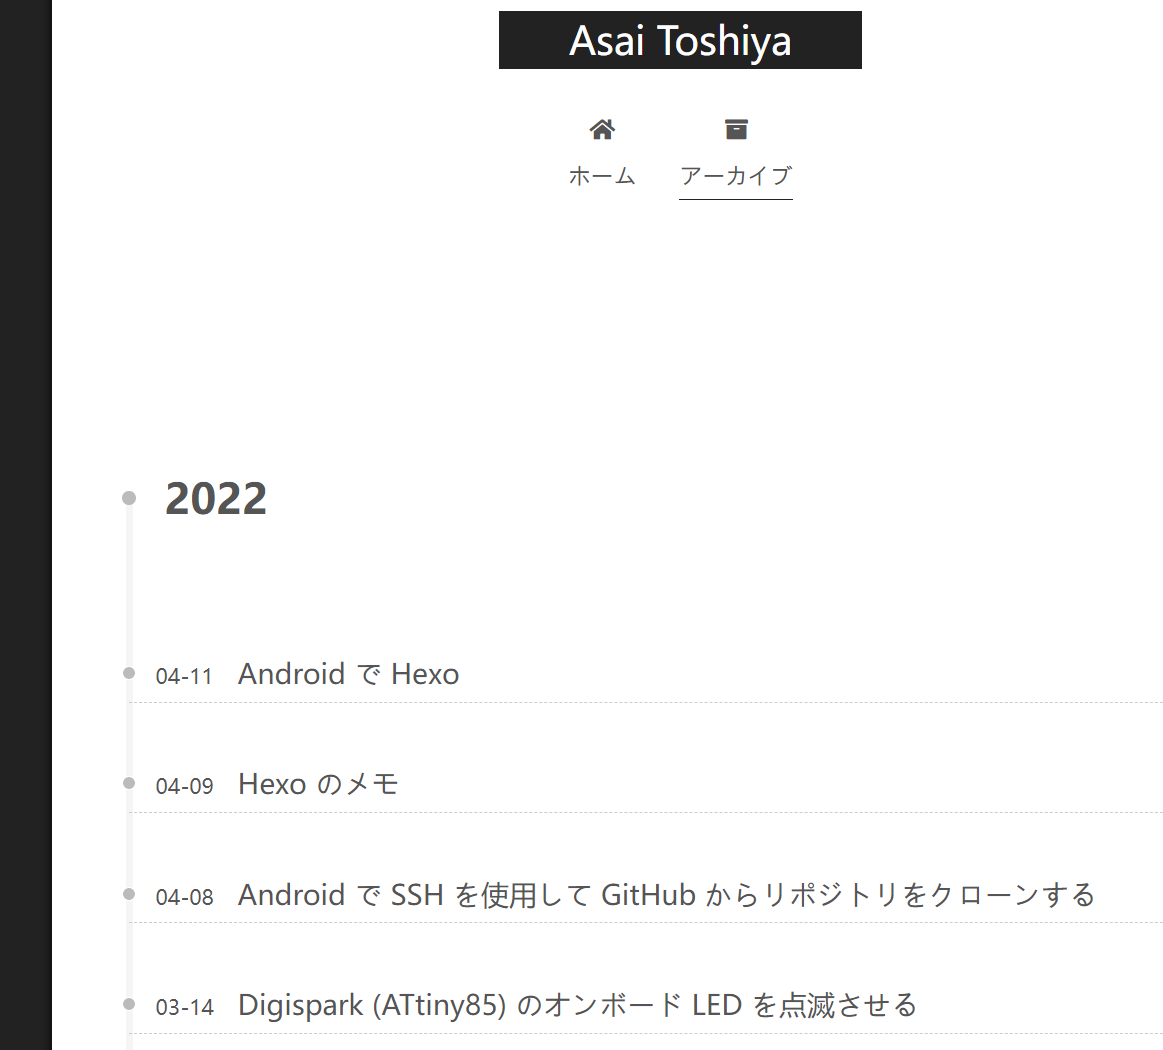
styles.styl:
1 | .archive .collection-title { |
見出しに罫線を追加
styles.styl:
1 | .post h2 { |
メニューを非表示に

styles.styl:
1 | .site-nav-toggle, .site-nav-right, .site-nav { |
モバイルでサイドバーを表示
styles.styl:
1 | .sidebar-toggle { |
ブログ タイトルの下側のパディングを設定
styles.styl:
1 | .header-inner { |
Tips
GitPress の記事を移行
記事 (Markdown ファイル) を
source\_postsに移動する。画像を
sourceに移動する。記事にタイトルと公開日 (Front Matter) を追加する。
例:
1
2
3
4
title: Raspberry Pi をバックアップする
date: 2022-02-10 16:27:19記事の冒頭の、最初の見出しレベル 1 (
#) を削除する。
Vercel でホスティング
「Vercel で静的サイトをホスティングする」を参照。
Android で Hexo
「Android で Hexo」を参照。